Thursday, November 29, 2012

Stocking Stuffers under $10...

...That your kids will actually enjoy!  I keep seeing lists of stocking suffers and everything I have found is either way too young for Bear or way to generic.  Afterall nobody knows my kid better than me so why should he get socks?  I'm sorry but you get socks for someone who you are not sure what to get...like your husband :)

This is my stocking stuffer list!

$4.95 - Picture Projector (Dinosaurs) Yup - a flashlight that makes giant dinosaurs on the wall!

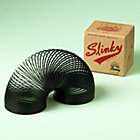
$1.00-7.95 - Slinky Fun for a girl or a boy and it can either be the original slinky or one from the dollar store

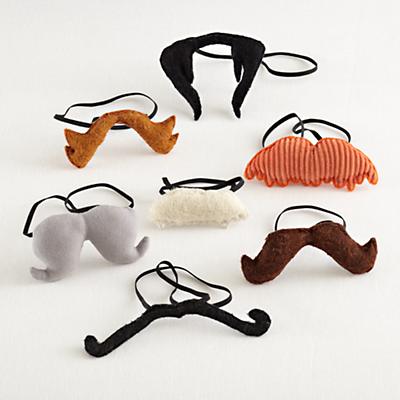
$6.95 - Incog-neato Mustaches AMAZING!
Imaginary_Moustache_Group

$5.00 - Tattly Cute tattoos for cute kids
Image

Sheriff Badge (Dollar store)
Various Colors of PlayDough (Dollar Store)
$5-10.00 Wikki Stix Craft stores have them and they are fun but dont poke you like pipe cleaners
Plastic Animals (Dollar or Toy Stores)

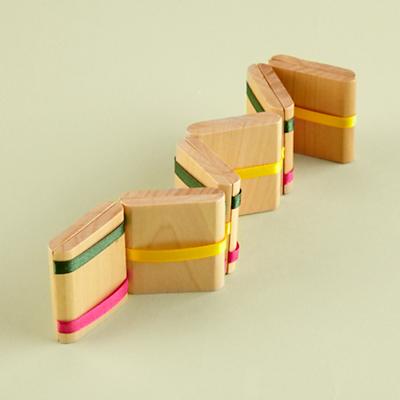
$4.95 Jacob's Ladder I loved this when I was a kid :)
Gift_JacobsLadder_0811

$9.95 Nesting Doll Robots I got another set last year for Tim and Bear loved them
Micro-Mini Matryoshkas - Robot

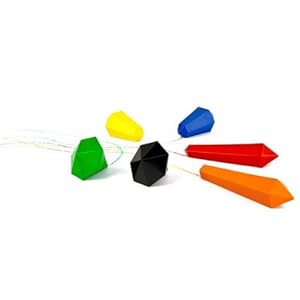
$7.54 Crystal Crayons Sweet!
Kikkerland Crystal Crayons, Set of 6

$7.99 Hot Wheels 5 Pack
Hot Wheels 5 Car Gift Pack (Styles May Vary)

The of course an orange in the toe :)

What are you giving your littles for Christmas?

Love,
PlusPeace


Saturday, November 24, 2012

Painted Birch Kids Room - DIY

Over Thanksgiving I came accross this pin which lead to a conversation with my sister about just painting the birth trees right on Bear's wall rather than dreaming of spending $120+ on them.  I figured I would never ever be able to pull it off so didn't put much more thought into it.  Then this afternoon we went to Home Depot and I decided to just do it.  I am not a pro-painter but I they came out AMAZING!  Bear loves his room!  Before bed tonight we put on his stars night light (projects stars on the ceiling) and lay next to the trees under the stars for a bedtime story, magical.

Painted Birch Tutorial

Materials:
Scotch Masking tape 3/4 inch thick will do ($1.99) - I did NOT use the blue tape because I've found that it doesn't stick well to our walls. The scotch masking tape was significantly cheaper and didn't peel off any of the paint.
Gliden Flat Matte paint ($9.49) - I just got the small container in the trim aisle. These trees will not work on white walls unless you get a darker color paint and do reverse.
Painting Sponge OR Edge Brush ($2.50-4.99) - The edge brush is not a paint brush it looks like a flat roller piece on an orange handle. I used this like a sponge since I didnt have one so a sponge would do fine.

How-to:
Step 1 - Prep your walls. Wipe them down with a dry cloth if fairly clean and if your walls have not recently been painted or are particularly dirty use warm water and let dry.  Plan how many trees you want and where.

Step 2 - Make your outlines.  Starting from the bottom of the wall, tape the base of your tree.  The great things about birch trees is they are very hard to mess up.  They have not many branches and, for the most part, are straight. To make them look like birch, I ripped small strips of tape and placed them randomly over the center and outlines of the trees.  The "knots" in the tree I just made with tiny pieces of tape in a circle.  Work ONE tree at a time so you have a better concept of the amount of space you end up with.


Step 3 - Paint! Sponge paint the inside of your tree in a fairly thin layer but make sure you are covering over the wall color.  Work from the top down and then repeat the process so the color is nice and bright.  The texture from using a sponge is OK because trees have texture.


Step 4 - Peel!  Peel off the tape from top to bottom while paint is still wet.  Go slow and some smudges are OK.  Dont forget all the bits in the middle that were painted over, you may have to gently scratch these with your nail to get a piece up to peel.


Voila!  I only did one wall with three trees today and plan to do the opposite wall tomorrow - and will post the pics :)

Any questions, just comment!

Love,
PlusPeace

Sunday, November 18, 2012

Quick Craft Sunday

In honor of Thanksgiving and our (small but still notable) Native American heritage we decided to make brightly colored arrows for Bear's room.  I am working on making his room with a nature inspired theme and he finally got a "big boy bed" this weekend (great find from Casa.com  I ended up getting $70 off in savings and coupons) so we did a celebration craft.

This craft was sparked by these  but mine are WAY more simple.

You will need:
[2] 4' Dowels I used 1/4" thick ones for .88 at homedepot
[6] Different Colors of thin craft foam I got a big pack of small sheets for $1 at dollar tree
Kids craft paint in a variety of colors $1 at dollar tree
Exacto-knife or hand saw
Paint Brush another $1 for the multipack at dollar tree
Sandpaper
Glue-gun with clear glue

How to:
Cut each of the dowels to be 1.33' long and sand the cut ends to be rounded.  Cut your foam into 3-4" half feathers (a half oval is OK) you will need 3 half feathers per arrow.  Make fringe on the rounded edge of each of the feathers.

Your or your kiddo can paint the dowels. We made the rounded tips grey and the base of each yellow with various colored bands in random spots.  Once the paint is try, hot glue the straight edge of the feathers to the non-pointed end of the arrows.  Glue 3 one each at 90 degree angles from eachother.  You can put 4 on each but I left one side "flat" because I intend to hang them on the wall somehow.


I ended up doing all the work on these and Bear pretends they are flowers or rockets but they are still tons of fun!!  I cant figure out a good way to hang them because for some reason the 3M stickies dont work well on Bear's walls. 

Enjoy :)
PlusPeace